...........
Coloring Tutorial-pink coloring
This coloring looks especially good when done to icons that already contain some pink.
A good place to find stock images
link
~~~~~~~~~~~~~~~~~~~~~~~+

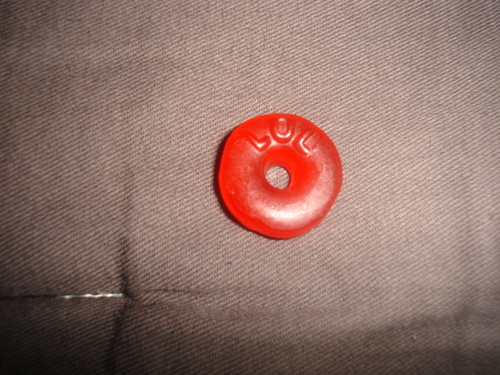
So this is the image we'll start with:

STEP 1 - Crop it.
->

Then we want to sharpen it a bit.
STEP 2 - Duplicate the background layer (the only layer you have right now).
(right click and choose "duplicate layer...")
Then go to FILTER>SHARPEN>SHARPEN
If the icon ends up being too sharp, lower the layer opacity until you like the result
Now we can start playing around with the colors.
STEP 3 - Make a "Selective Color..." layer and put the following settings(Layer>New Adjustment Layer>Selective Color)
Settings of the Selective Color Layer
Colors: REDS
0%
0%
-62%
0%
(method: relative)
This setting makes the pinks/reds in a picture more purple-ish. It prevents the pink from getting too reddish in later steps.
STEP 4 - Make a "Solid Color..." Layer with the color #c46f85 and set it to SOFT LIGHT 100%
(Layer>New Fill Layer>Solid Solor)
This step makes the whole icon more pinkish!
-> Try experimenting with different shades of pink or other colors!
STEP 5 - Make another "Solid Color" Layer with the color #eae8a7 and set it to OVERLAY 30%
This gives the icon some yellow light.
STEP 6 - Now we're going for the sparkling effect- Add the following link on top of your layers

SET IT TO SCREEN 81% and move it around to place it where you want it to be
STEP 7 - Duplicate your bottom layer which is called "background" and drag it on top! Then set it to SOFT LIGHT 100%
This adds contrast- if you prefer icons with less contrast, skip this step ;]
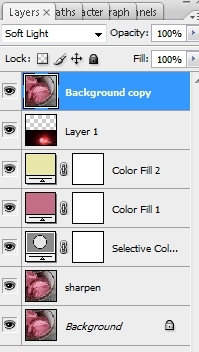
And now you're done =)) This is what your layers should look like if you did it right

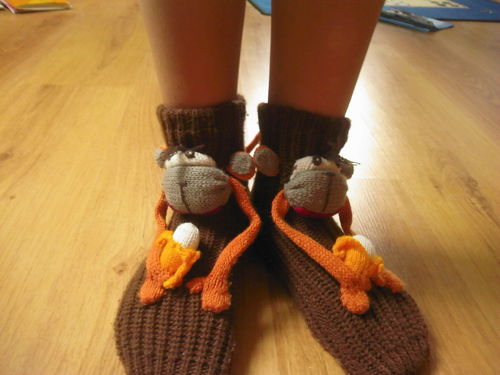
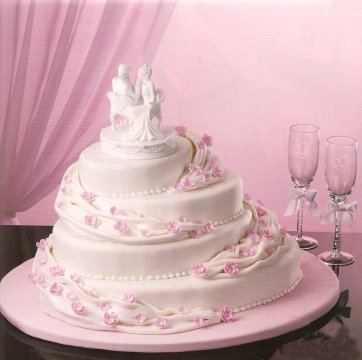
Other icons made with the same settings:

Questions? Ask=)
Coloring Tutorial-pink coloring
This coloring looks especially good when done to icons that already contain some pink.
A good place to find stock images
link
~~~~~~~~~~~~~~~~~~~~~~~+

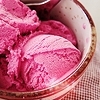
This is what we'll get.
So this is the image we'll start with:

pink ice cream <3
STEP 1 - Crop it.
->

cropped
Then we want to sharpen it a bit.
STEP 2 - Duplicate the background layer (the only layer you have right now).
(right click and choose "duplicate layer...")
Then go to FILTER>SHARPEN>SHARPEN
If the icon ends up being too sharp, lower the layer opacity until you like the result
Now we can start playing around with the colors.
STEP 3 - Make a "Selective Color..." layer and put the following settings(Layer>New Adjustment Layer>Selective Color)
Settings of the Selective Color Layer
Colors: REDS
0%
0%
-62%
0%
(method: relative)
This setting makes the pinks/reds in a picture more purple-ish. It prevents the pink from getting too reddish in later steps.
STEP 4 - Make a "Solid Color..." Layer with the color #c46f85 and set it to SOFT LIGHT 100%
(Layer>New Fill Layer>Solid Solor)
This step makes the whole icon more pinkish!
-> Try experimenting with different shades of pink or other colors!
STEP 5 - Make another "Solid Color" Layer with the color #eae8a7 and set it to OVERLAY 30%
This gives the icon some yellow light.
STEP 6 - Now we're going for the sparkling effect- Add the following link on top of your layers

add this texture
SET IT TO SCREEN 81% and move it around to place it where you want it to be
STEP 7 - Duplicate your bottom layer which is called "background" and drag it on top! Then set it to SOFT LIGHT 100%
This adds contrast- if you prefer icons with less contrast, skip this step ;]

And now you're done =)) This is what your layers should look like if you did it right
Other icons made with the same settings:

other examples
Questions? Ask=)